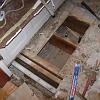
DSC00552 - This hole in the subfloor shows the two nipples sticking up from below that supply water to the tub. I've removed all of the galvanized pipe and opened the floor to cut holes for copper.
DSC00552
|
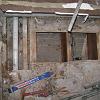
DSC00553 - Here is the hole in the floor where the copper will go. You can see the suppply lines in the right cavity.
DSC00553
|
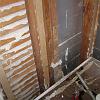
DSC00554 - Here's the tub wall after I took the old plumbing out.
DSC00554
|
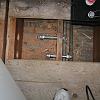
DSC00555 - New plumbing. We put shorter nipples on the tees so we could 90 them over before coming up through the floor. We cut the holes out with a 1" paddle bit (and later a 1.5" to widen the holes). The top nipple that connects to the pipe that's closer to the joist required a sawzall to open the cavity up big enough to turn the 90 onto the nipple.
DSC00555
|
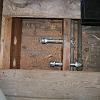
DSC00556 - Closer shot of the new plumbing beginning. The new shorter nipples are installed and capped so I could quit for the day and turn the water back on.
DSC00556
|
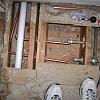
DSC00557 - This is the copper rough-in. We've already sweated the 90s that head toward the tub. After we'rd done, we'll be able to button up the floor with no remaining pipes sticking out.
DSC00557
|
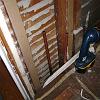
DSC00558 - Plumbing rough-in. We still have more holes to cut at this point. And lots more sweating.
DSC00558
|
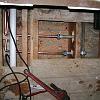
DSC00559 - The new copper is connected to the galvanized nipples with dielectric unions.
DSC00559
|
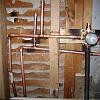
DSC00560 - Here is the finished plumbing. We had to do some creative bending to get things where we wanted them. Yes, the wood caught fire. It wasn't as big a problem as I thought. I later found a piece of tin to put behind the joints.
DSC00560
|
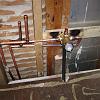
DSC00561 - Another shot of the new plumbing/valve. The valve is made by Delta.
DSC00561
|
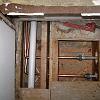
DSC00562 - Another shot of the new plumbing running through the joists instead of over them.
DSC00562
|
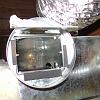
DSC00567 - The exhaust fan damper was clanking like mad (probably because the exhaust vent is so short and the roof vent is not as steep as it should be). This is my solution. I glued little foam strips to the sides of the opening to prevent metal-on-metal contact.
DSC00567
|
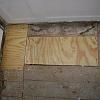
DSC00568 - This is the section we cut out to reroute the plumbing. It's all patched up now.
DSC00568
|
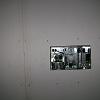
DSC00569 - This is the ceiling, showing the new heater/fan/light installed.
DSC00569
|
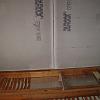
DSC00570 - This is a progress shot of the durarock on the long shower wall.
DSC00570
|
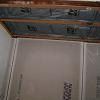
DSC00571 - Another progress shot of the durarock on the long shower wall.
DSC00571
|
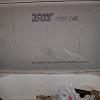
DSC00572 - Bathtub with durarock.
DSC00572
|
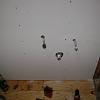
DSC00573 - Drywall on the wet wall Also, this is the first shot that shows the 3/4" subfloor.
DSC00573
|
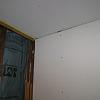
DSC00574 - Drywall progress picture.
DSC00574
|
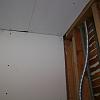
DSC00575 - Drywall progress picture.
DSC00575
|
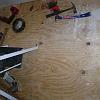
DSC00579 - This is the subfloor. There will be another one on top of this one.
DSC00579
|
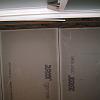
DSC00580 - Another progress shot of the durarock.
DSC00580
|
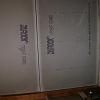
DSC00581 - More durarock.
DSC00581
|
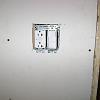
DSC00582 - Close shot of finalized electrical.
DSC00582
|
DSC00583 - Sideways view of two tub walls with durarock
DSC00583
|


