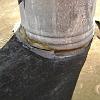
DSC00522 - This is the wet vent that was leaking. I discovered the leak after I took the pictures of the sealed roof vent for the new fan.
DSC00522
|
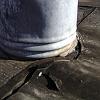
DSC00523 - Another shot of the cracked seal on the roof vent. You can see how the tar buckled.
DSC00523
|
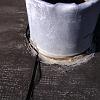
DSC00524 - Another shot of the cracked vent seal
DSC00524
|
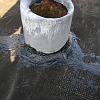
DSC00525 - After sealing the existing wet vent.
DSC00525
|

DSC00526 - After sealing the wet vent.
DSC00526
|
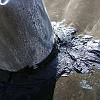
DSC00527 - After sealing the wet vent.
DSC00527
|
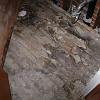
DSC00528 - The luan floor is up, this is hardwood. You can see the water stains from, well, the toilet at least. Who knows what else was leaking.
DSC00528
|
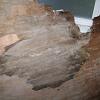
DSC00529 - This is the water stain on the bottom of the luan. The cutout section was the toilet flange. That is where this leak originated.
DSC00529
|
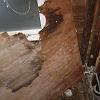
DSC00530 - Another shot of the bottom of the luan panel
DSC00530
|
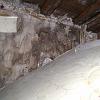
DSC00531 - Another shot of the water staining on the hardwood floor.
DSC00531
|
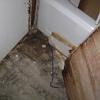
DSC00532 - Mild water staining on the hardwood floor next to the tub.
DSC00532
|

DSC00533 - After tearing up the hardwood floor that was level with the rest of the hardwood on the second floor, I found that there was a gap between that hardwood and the subfloor, facilitated by perpendicular hardwood strips used as furring strips. This conduit that ran behind the toilet is one reason they shimmed the floor and left the gap.
DSC00533
|
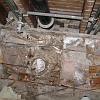
DSC00534 - A better shot of the conduit that was sandwiched between the subfloor and the hardwood floor. This conduit ran between the overhead light in the kitchen and the wall box next to the back door. It had to go.
DSC00534
|
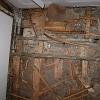
DSC00535 - This is the other reason they furred up the floor with strips of hardwood. These are the supply lines for the tub faucet. The come up from tees in the floor and 90 over to the door, and finally under the tub. They have to be moved.
DSC00535
|
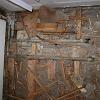
DSC00536 - Another shot of the water lines that were run above the subfloor.
DSC00536
|
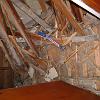
DSC00537 - Lots of destruction. That little blue superbar in the middle is all I used (along with a hammer) to do the entire demo.
DSC00537
|
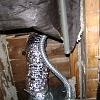
DSC00538 - This is the duct for the fan exhaust.
DSC00538
|
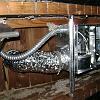
DSC00539 - Another shot of the short duct used to vent the fan.
DSC00539
|
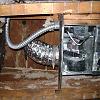
DSC00540 - Third shot of the fan exhaust duct.
DSC00540
|
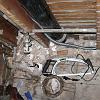
DSC00546 - This is how I solved the conduit problem. I opened both ends (ceiling fixture and wall box in kitchen) and pulled the wires out after mapping the relevant circuits. I then cut the pipe at both ends and installed this piece of greenfield between them with pipe connectors. Then I ran new wire.
DSC00546
|
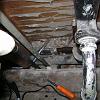
DSC00547 - Here you can see the greenfield to pipe connection, just before the pipe disappears into the wall.
DSC00547
|
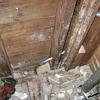
DSC00548 - Here's the other side of the conduit fix. you can see the conduit coming up on the exterior wall and changing over to greenfield.
DSC00548
|
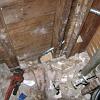
DSC00549 - Another shot of the conduit->greenfield transition.
DSC00549
|
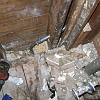
DSC00550 - Clearer shot of the conduit fix.
DSC00550
|
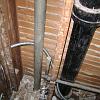
DSC00551 - This is the greenfield path. I routed and weaved it so it was behind everything and so it would be out of the way when I put the drywall up.
DSC00551
|


